Azure Functions are a great serverless option in Azure for executing code. You can deploy functions using multiple languages, including PowerShell. This tutorial will teach you how to configure your Azure Functions to import a PowerShell module for additional cmdlet availability.
This tutorial assumes you are familiar with creating Azure Functions and PowerShell modules hosted in the PowerShell gallery.
Enjoyed this article? Check out more Azure and PowerShell content here!
Understanding PowerShell Module Dependencies
You configure Azure Functions to leverage the PowerShell gallery for module dependencies. The Function App automatically downloads modules based on the requirements you configure in the requirements.psd1 file.
To enable this automatic download behavior, set the managedDependency property to true in the host.json file for the Function App. You will learn how to verify this setting in each tutorial section below. Dependency management is enabled by default, and Function apps currently support up to 10 modules.
When setting the module required version, the supported syntax is MajorNumber.* or an exact module version. An example configuration below shows the Az module configured for any major version starting at 1 and a specific PSWindowsUpdate version of 2.2.0.3. Enclose the module name and version in single quotes.
@{
    'Az' = '1.*'
    'PSWindowsUpdate' = '2.2.0.3'
}
Dependency management has the following considerations:
- After modifying the requirements.psd1 file, restart the Function App to install new modules or update existing modules.
- The Function App requires access to the PowerShell gallery using the URL https://www.powershellgallery.com to download modules. Ensure the Function App can access this URL by adding any firewall rules.
- Managed dependencies do not support modules that require the user to accept a license when downloading the module. This stipulation includes any module that requires interactive acceptance or using the -AcceptLicense switch parameter when using Invoke-Method. For these modules, follow the import custom module tutorial below.
Adding PowerShell Modules
There are multiple methods for adding PowerShell modules to your Azure Function app. These methods also depend on whether the module is available in the PowerShell Gallery or is a custom module. The following examples use a Function App named jbt-func-demo.
This article covers the following methods:
- Add using App Files
- Add using Advanced Editor/Kudu environment
- App Service Editor (Preview)
- Custom modules
Using App Files
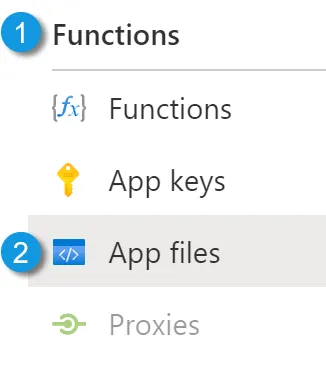
The first method uses the App files section of the Function App. To access the App files:
- Navigate to your Function App in the Azure portal.
- Under Functions, go to App files.

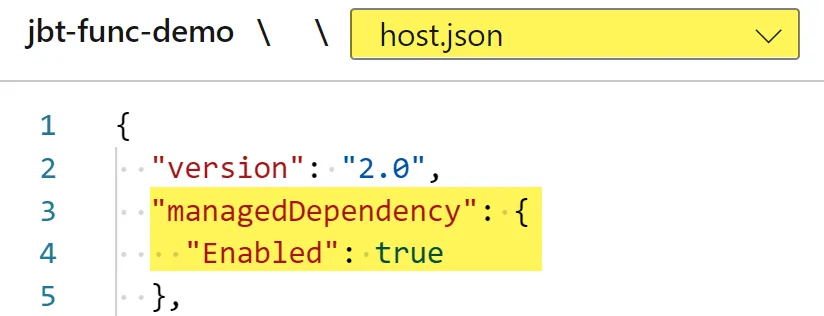
- In the App files window, the host.json file should be displayed. Verify the managedDependency has a value of Enabled set to true. If necessary, change the value and click Save.
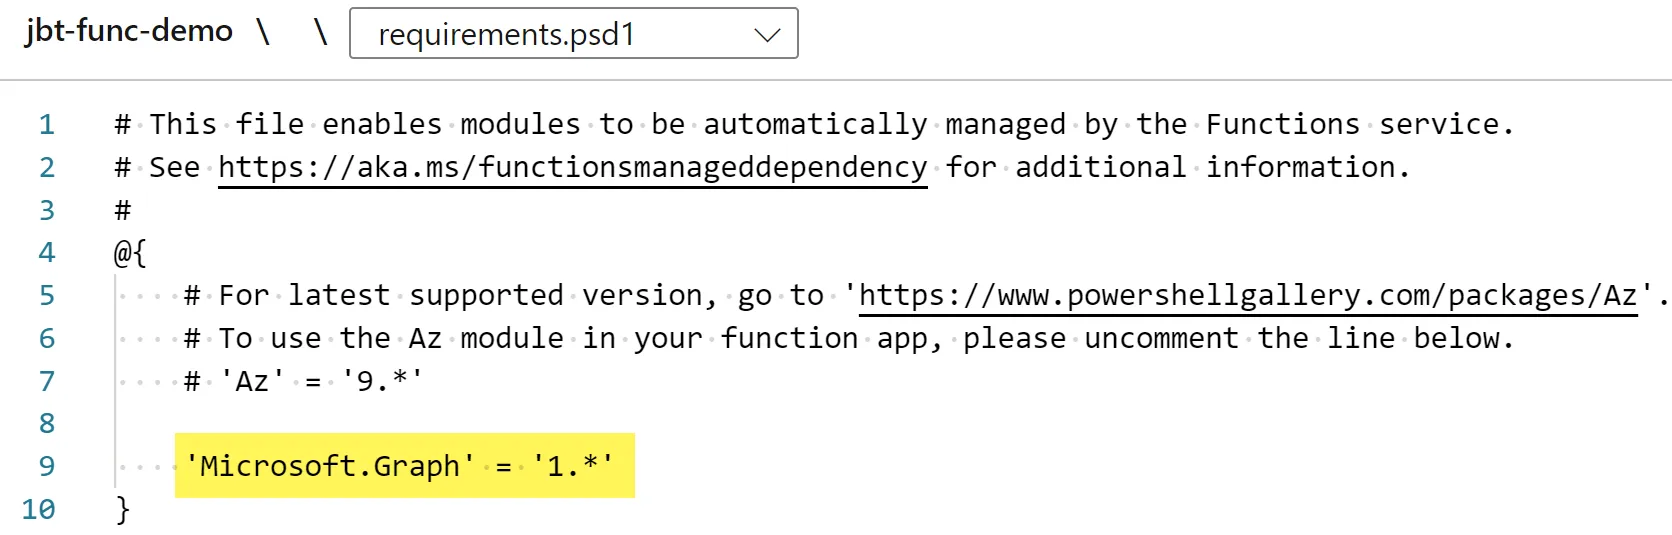
- In the App files window, click the drop-down menu for the filename and select requirements.psd1.
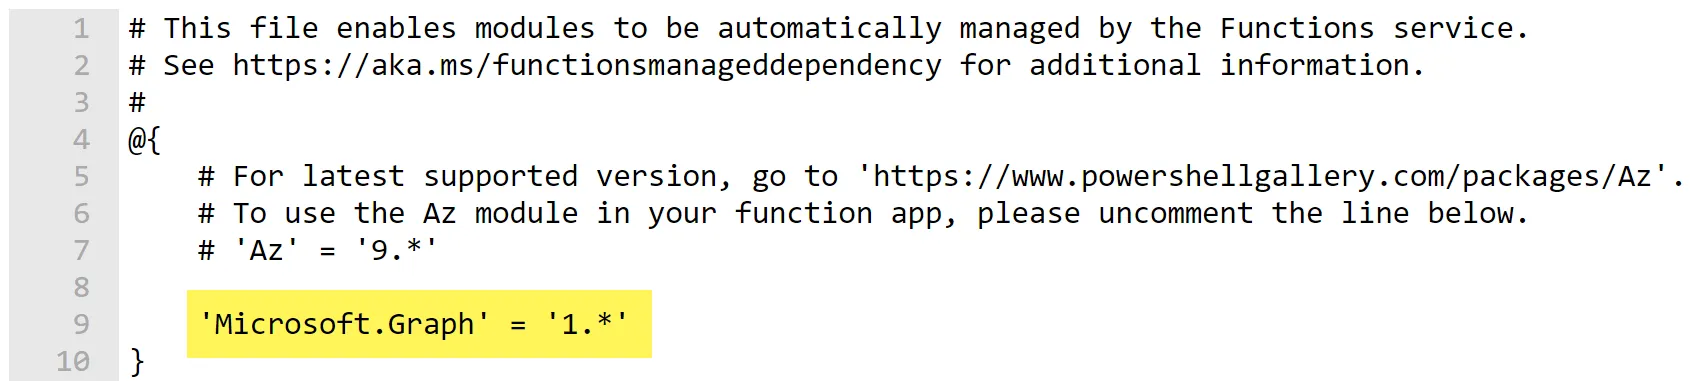
- View the contents of the requirements.psd1 file. The file contains several commented lines of code explaining the file’s purpose and how to specify module requirements.
- In the code block @{ }, add the line ‘Microsoft.Graph’ = ‘1.*’ to add this module dependency to your Function App.
- Click the Save icon. Return to the Overview section for the Function App and restart the app to add the module dependency.

Using Advanced Tools/Kudu
You can also use the Advanced Tools section to modify managed dependencies. Advanced Tools contains tools for developers for the App Service Apps and provides access to the Kudu environment. Kudu is the engine that allows git deployments in Azure App Services.
To access Advanced Tools:
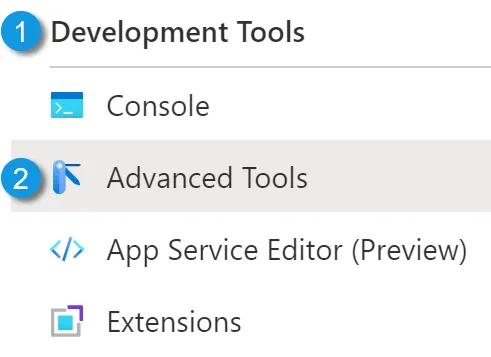
- Navigate to your Function App in the Azure portal.
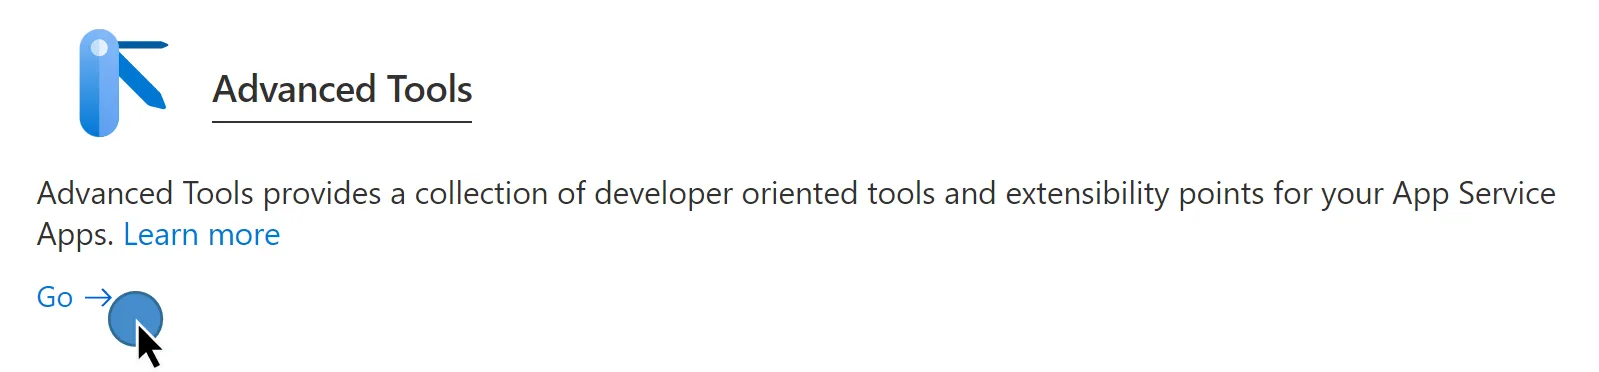
- Under Development Tools, select Advanced Tools.
- In the Advanced Tools window, select the Go -> link. This link opens the Kudu environment in a new tab or window.
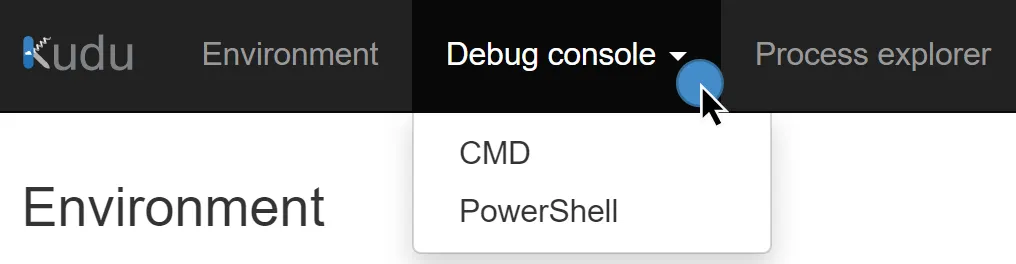
- Select the Debug console from the Kudu environment page, then select CMD or PowerShell.
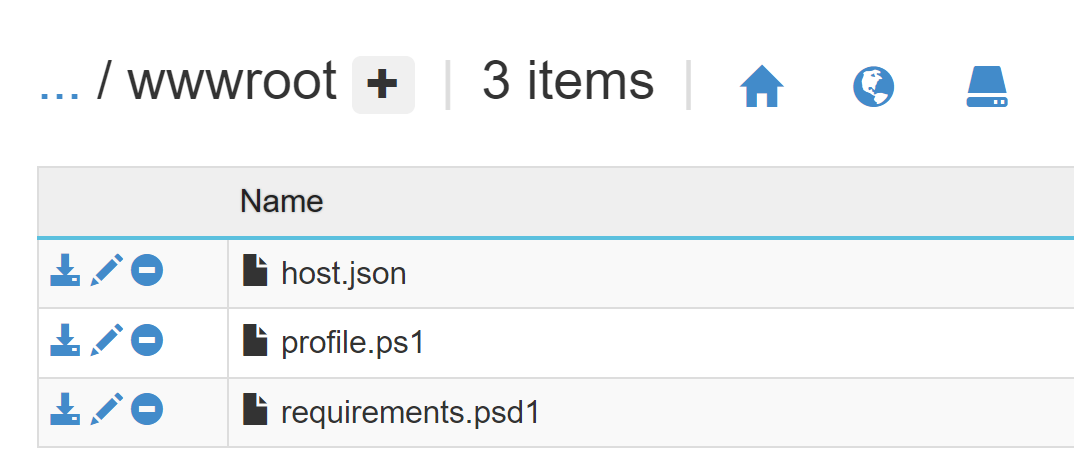
- A file explorer window allows accessing the files in the Function App. First, select the site folder, then the wwwroot folder. You should see three files here: host.json, profiles.ps1, and requirements.psd1.
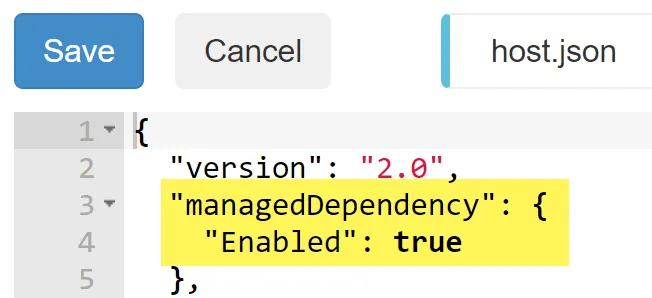
- Select the pencil icon next to host.json, and Kudu displays the file contents. Verify the managedDependency setting has a value of Enabled and is set to true. If necessary, change the value and click Save. Otherwise, click Cancel to return the file list.
- Click the pencil icon next to the requirements.psd1 file. To add a managed dependency, add the PowerShell module name in the @{ } code block with the required version. This example adds the Microsoft.Graph module using the latest 1.* version.
- Click Save, then return to the Overview section of the Function App. Restart the app to include the module as a managed dependency.
Using App Service Editor
Another option is using App Service Editor, currently in public preview. App Service Editor provides a Visual Studio Code editing experience for the Function App code in your browser.
To access the App Service Editor:
- Navigate to your Function App in the Azure portal.
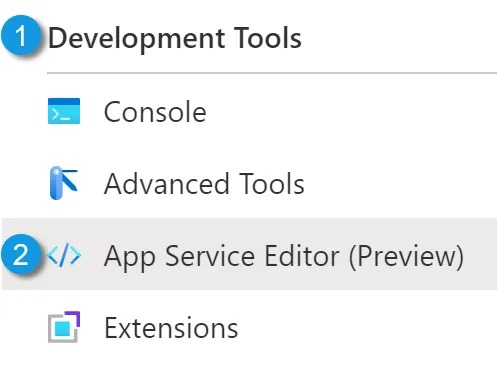
- Under Development Tools, select App Service Editor.
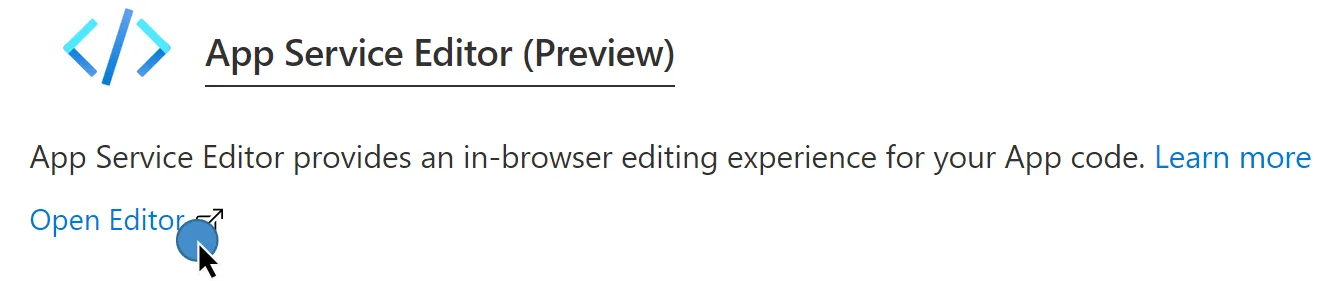
- In the App Service Editor window, select the Open Editor link. This action opens the editor in a new tab or window.
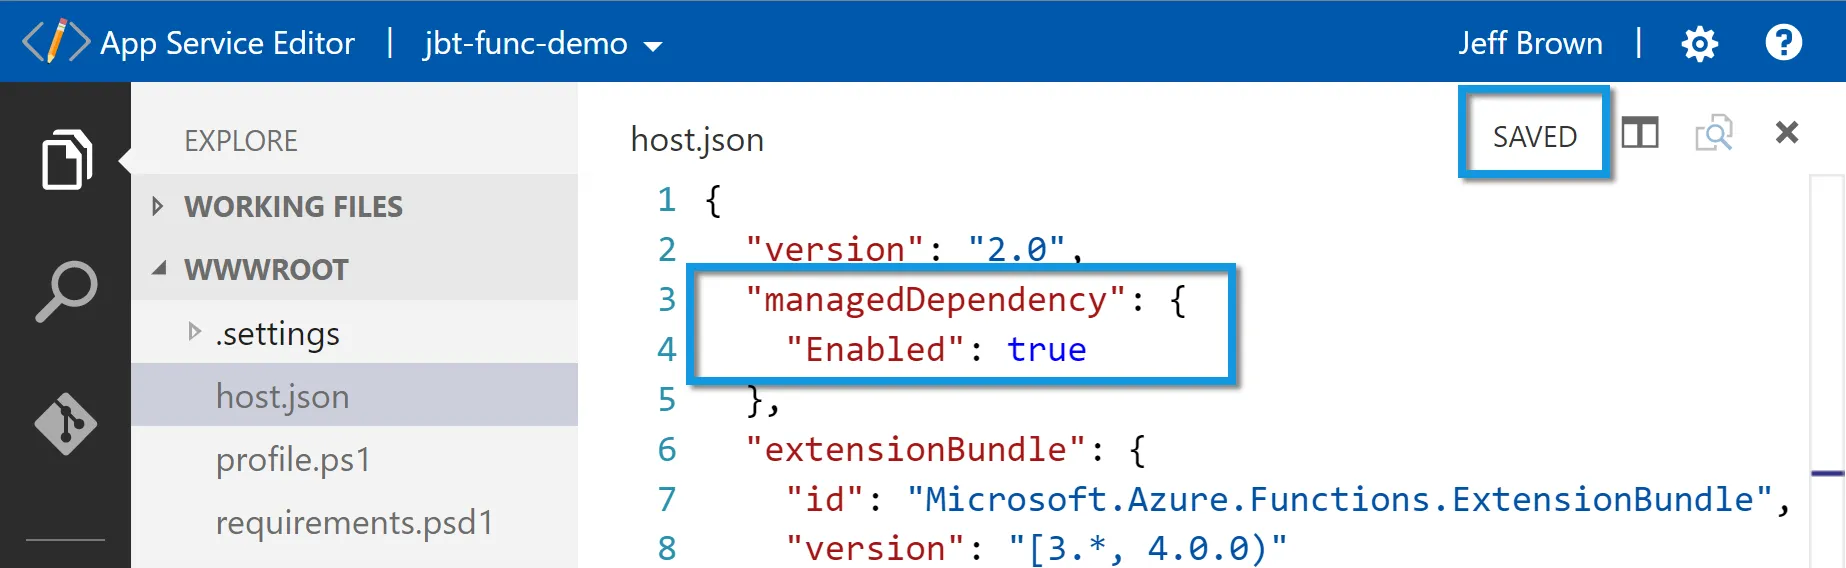
- On the Explore tab in the WWWROOT folder, select the host.json file. The file contents appear on the right. Verify the managedDependency setting has a value of Enabled and is set to true. If necessary, change the value, and wait for the editor to auto-save the file.
- Select the requirements.psd1 file in the file explorer tab. To add a managed dependency, add the PowerShell module name in the @{ } code block with the required version. This example adds the Microsoft.Graph module using the latest 1.* version.
- Return to the Overview section of the Function App. Restart the app to include the module as a managed dependency.

Adding Custom Modules
The previous examples all showed how to add a managed dependency for modules hosted in the PowerShell gallery. However, you may have a custom-written module that you want to include but don’t want to host in the PowerShell gallery. Luckily, you can add a custom module to your Function App.
In Azure, a PowerShell Function App’s $env:PSModulePath contains two paths for finding modules:
- A Modules folder in the root folder of the Function App.
- A path to a Modules folder controlled by the PowerShell language worker.
The following tutorial focuses on Item 1, where you can import custom modules into your Function App. Item 2 deals with modules commonly used by the PowerShell language worker. You can read more about that here.
Modules folder
You can add modules used by the function in a Modules folder at the root of your Function App. The Function App automatically makes these modules available to your functions at runtime. Any function in the Function App can use these modules. You do not need to specify these modules in the requirements.psd1 file like you did in the previous sections of this article.
To add a custom module at the function level:
- Navigate to your Function App in the Azure portal.
- Under Development Tools, select App Service Editor.
- In the App Service Editor window, select the Open Editor link. This action opens the editor in a new tab or window.
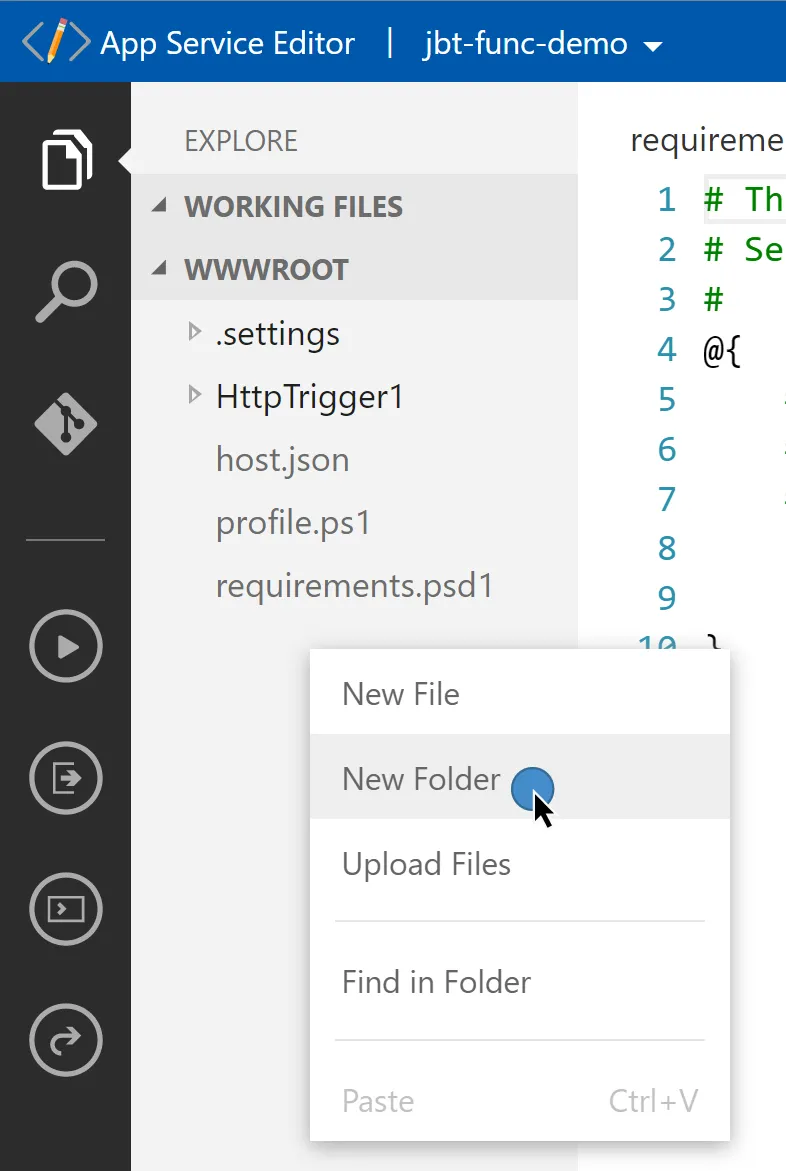
- In the file explore section, right-click in the Explore section and choose New Folder. Name the folder Modules.
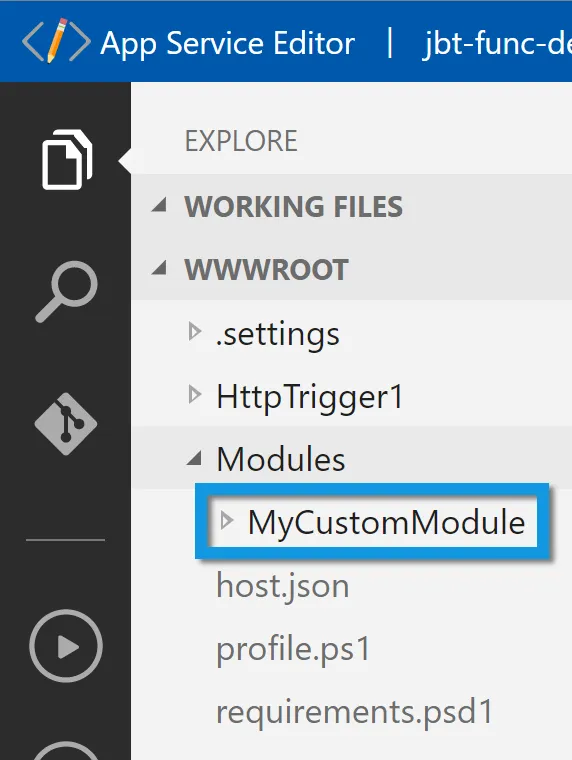
- Right-click the Modules folder and choose New Folder. Enter the name of the custom module. In this example, the module’s name is MyCustomModule.
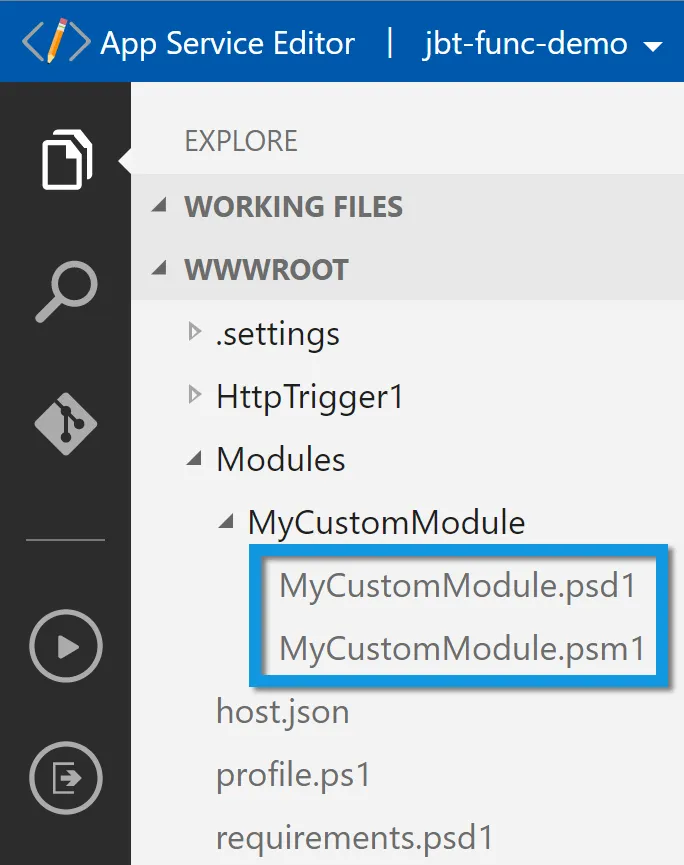
- Right-click the module folder (MyCustomModule) and choose Upload Files. Navigate to the files that make up the custom module, select them, and complete the upload. In this example, the custom files are MyCustomModule.psm1 and MyCustomModule.psd1.
- Return to the Overview section of the Function App. Restart the app to include the module as a managed dependency.

You can now use functions from the custom module in your functions in the Function App!
Summary
In this tutorial, you learned three different ways to add a PowerShell module hosted in the PowerShell gallery to your Azure Functions. You also learned how to add custom modules not hosted in the PowerShell gallery to the Function App. With both of these methods, you can extend your Azure Functions to include any PowerShell module that you need for your task.