Azure Bastion is a fantastic solution for connecting to virtual machines from the Azure portal. Now available as a preview feature, you can connect to these same virtual machines through the Azure Bastion host using the native RDP Windows client.
This tutorial will teach you how to enable this preview feature for new or existing Bastion instances and connect using an Azure CLI command. To follow along with this tutorial, you will need:
- PowerShell 7
- Azure CLI version 2.32.0 or later installed
- A Windows virtual machine deployed in a virtual network
- Azure Bastion (whether newly deployed or existing instance)
Configure Azure Bastion for Native RDP Client Support
As of right now, the native client support is not automatically enabled for Azure Bastion instances. Follow the instructions below depending on your current environment to enable this preview feature.
Configure a new bastion host
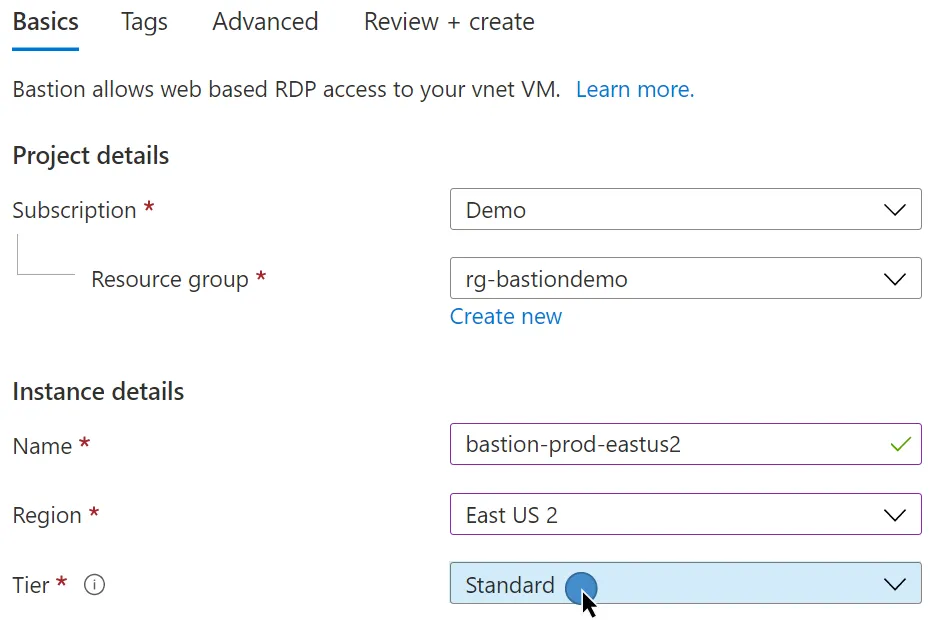
When creating a new Azure Bastion host instance, you must select the Standard tier on the Basic tab. The native client support is not available in the Basic tier.
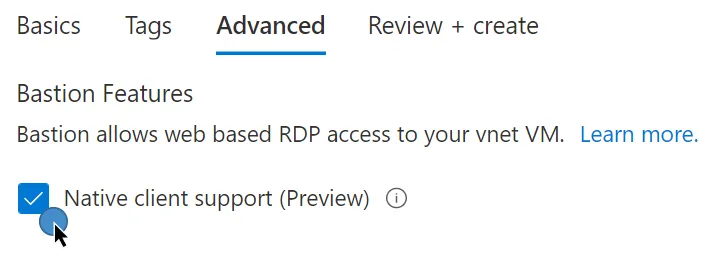
On the Advanced tab, enable Native client support (Preview). Finish the creation wizard to complete your new Azure Bastion setup.
Configure an existing bastion host
Enabling the native client preview feature is as easy as making a configuration change if you have an existing Azure Bastion host.
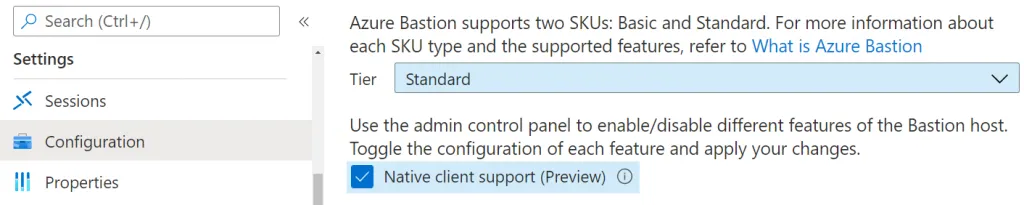
In the bastion resource, navigate to Settings > Configuration. Verify the tier is set to Standard, then check the box to enable Native client support (preview).
Connect to Windows VM using Native RDP Client
With the native client support feature enabled, you can now connect to virtual machines through Azure Bastion using the native RPD client found in Windows. Creating the connection is currently only available using Azure CLI commands, but Microsoft will most likely provide support in the future for PowerShell.
Note: Although I am using Azure CLI commands, which are typically used in BASH, I could not get the connect command in Step 4 to work. The same command worked fine in PowerShell. I filed an issue out in the Azure CLI GitHub repo, and you can follow the resolution here.
To sign in to your Windows VM using RDP through Azure Bastion:
- Open a PowerShell 7 command prompt.
- Use the
az logincommand to log in to your Azure tenant. - Use the
az account setcommand to select the subscription containing the Bastion host you want to connect. You can use the subscription name or GUID. This example select a subscription named “Demo”.
az account select --subscription "Demo"
- Use the
az network bastion rdpcommand to connect to the Windows virtual machine using the native RPD client. Use the--nameparameter to specify the Azure Bastion host name, the--resource-groupparameter for the resource group containing the bastion host, and--target-resource-idto specify the virtual machine resource ID.
The following example connects to a bastion host namedbastion-WestUS2in therg-bastiondemoresource group to virtual machine namedwinserver01.
az network bastion rdp `
  --name 'bastion-WestUS2' `
  --resource-group 'rg-bastiondemo' `
  --target-resource-id '/subscriptions/<sub_ID>/resourceGroups/RG-BASTIONDEMO/providers/Microsoft.Compute/virtualMachines/winserver01'
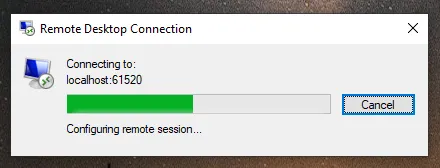
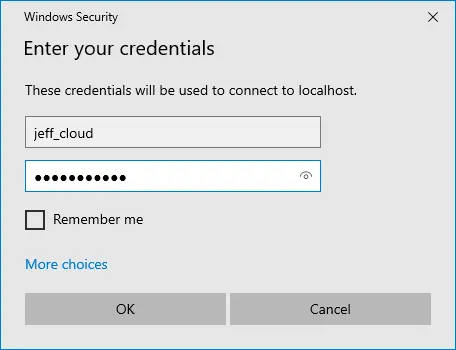
- Azure CLI starts the native RDP client on your Windows computer, prompts for credentials, and completes the remote connection. For credentials, you can enter a local admin account or use an Azure AD account if you’ve followed these prerequisites.
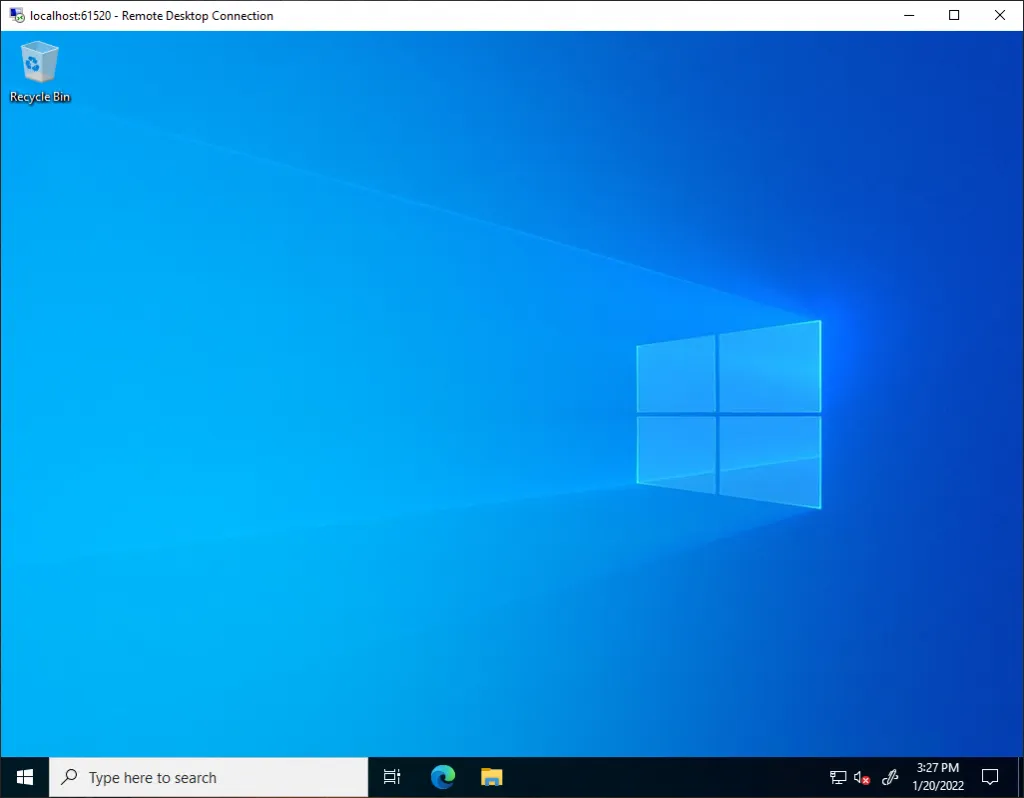
Summary
In this tutorial, you learned how to enable the native client support preview feature for both new and existing Azure Bastion instances. You then connected to a Windows virtual machine hosted in Azure using the native RDP client on your Windows system. In this Microsoft Docs article, check out other connections methods to Linux and Windows virtual machines using RDP and SSH.
Enjoyed this article? Check out more of my Azure content here!